What is a Feasibility Study and why you should want one?
Eric Rodrigues, OAA, LEED AP BD+C, CAHP
If you’re a real estate developer or a homeowner, a new construction project has risks.
Miscalculations represent added costs in the thousands (even millions) of dollars. This might compromise the success that you envision.
The scale of your project will impact your level of risk. At the end of the day, you want to move forward with as much peace of mind as possible. You don’t t want to gamble your hard-earned savings or the funds from your team of investors.
Getting Started
I always recommend my clients take a step-by-step approach when planning for a new project. A feasibility study guarantees you are not walking into your project blindfolded. It ensures that you know the full scope, how long it will take, and most importantly, how much it will cost.
A complete feasibility study should include the following information:
Step 1 – Comprehensive Zoning and By-Law Analysis
This report should outline the constraints and allowances in the local zoning by-laws. Many municipalities in Ontario, such as Toronto, have interactive zoning maps. These allow you to search your property and its zoning designation.
I recommend hiring an architect that specializes in residential architecture. to do a full and comprehensive zoning analysis. Many properties have particular zoning exemptions and might be under specific provisions. Not capturing all the details of your zoning might imply longer approvals and design revisions.
This analysis should also clarify the municipal approval process. You will be able to determine if your proposed development will need rezoning or if it is as-of-right.
Step 2 – Site Analysis
Like a zoning analysis, having a proper site analysis is a critical success. Skipping this step might create issues with development approvals.
A site analysis needs to capture all the qualities, information, and characteristics of your site. It should also include any existing buildings/structures. The report should show the solar orientation, mature trees, heritage buildings, topography, neighbourhood context, and existing infrastructure.
The purpose of this analysis is to outline all the natural and man-made features of your property.
When owners and their architects fail to do this research, the proposed designs may not respond to the characteristics of the site.
This leads to inefficient buildings and designs that are not supported by the local community.
A thorough site analysis will show the best ways to develop the property. A good building will take advantage of the best views and maximize solar exposure. You also want to design a building that’s not blocking your neighbor’s ability to do the same.
Step 3 – Analysis of Recent Precedents
You have an idea and a vision of what you would like to build. Many times, it might be necessary to go through a rezoning process. For most small residential projects you will apply to the Committee of Adjustment. For a larger development, you might be proposing an Official Plan and Zoning By-law Amendment.
In both cases, your Architect should do a thorough analysis of precedents to understand what has been recently approved in your area. You should also ask to know what has not been approved and the reasons why. This will give you a good overview of what you can expect from your application.
Step 4 – Massing Studies
After the first 3 steps, your architect should prepare a series of massing studies. These massing studies will reflect the previous steps and analysis phases.
In this phase, your Residential Architect will design options and creative design solutions. The goal is to maximize the efficiency of the site, proposing a design that will meet your vision and goals. Your design also needs to provide value to the neighborhood and residents. With this massing study, you will have reliable information regarding GFA, and have a good overview of the scale of your new building or home.

Step 5 – Concept Floor Plans
Now that your project has a mass and volume, you can dive into a more detailed phase. Your Architect can prepare some preliminary floor plans based on your design brief. If you haven’t started creating a design brief, you can download my free, and easy-to-use Project Planning Guide. If you are planning a multi-unit building, this would be the right time to start refining your parking layouts and unit mix. The number of parking spaces will also impact the number of units for the building.
For small residential projects, I recommend determining the size, and location of the interior spaces at this phase.
Step 6 – Construction Cost Estimates
With the information you have developed with your Architect, now is the time to cost your project. With the documents you have, you can get quotes from builders and contractors.
Start with a high-level construction cost estimate based on prices per square footage. After, request a second estimate sourced from a professional cost estimator, to confirm. For a high-level construction cost calculator, you can download my free Project Planning Kit.
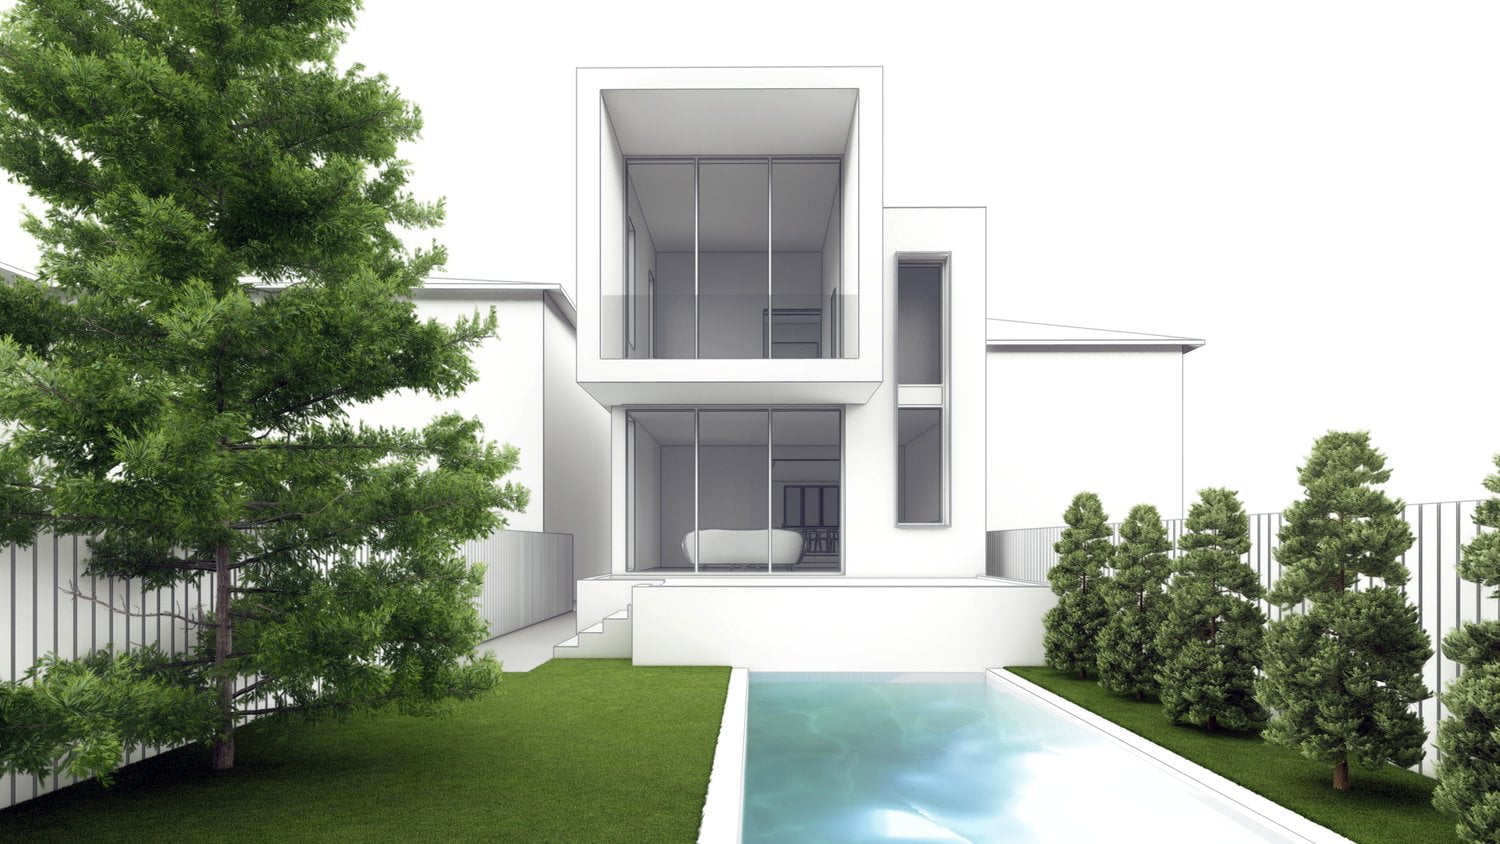
Step 7 – Architectural Design and Expression (Optional)
You might want to develop some more detailed drawings that show the look and feel of your building. This could be done through renderings, elevations, 3D perspectives, or even presentation videos.
This step is important if you need to go through any special approvals or rezoning. The look and expression of the building are critical factors. These materials might also be of value from a marketing perspective if your goal is to start promoting your project as soon as possible.

Conclusion
A big part of my job as an Architect is to guide my clients. Rather than hiring an Architect for a full-service engagement, I recommend you take it step-by-step.
Start with a feasibility study. This information will reduce your risks, streamlines approvals, and provides for better projects.
I hope this article has helped you with your planning. If you have questions, book a free 30-minutes Discovery Session with Boldera Architecture. This will unlock the full potential of your project and help you develop a quick action plan. My goal is to help you develop successful projects.